Showing posts with label American Crafts. Show all posts

Tuesday, September 8, 2015

Webster's Pages - So Many Layers

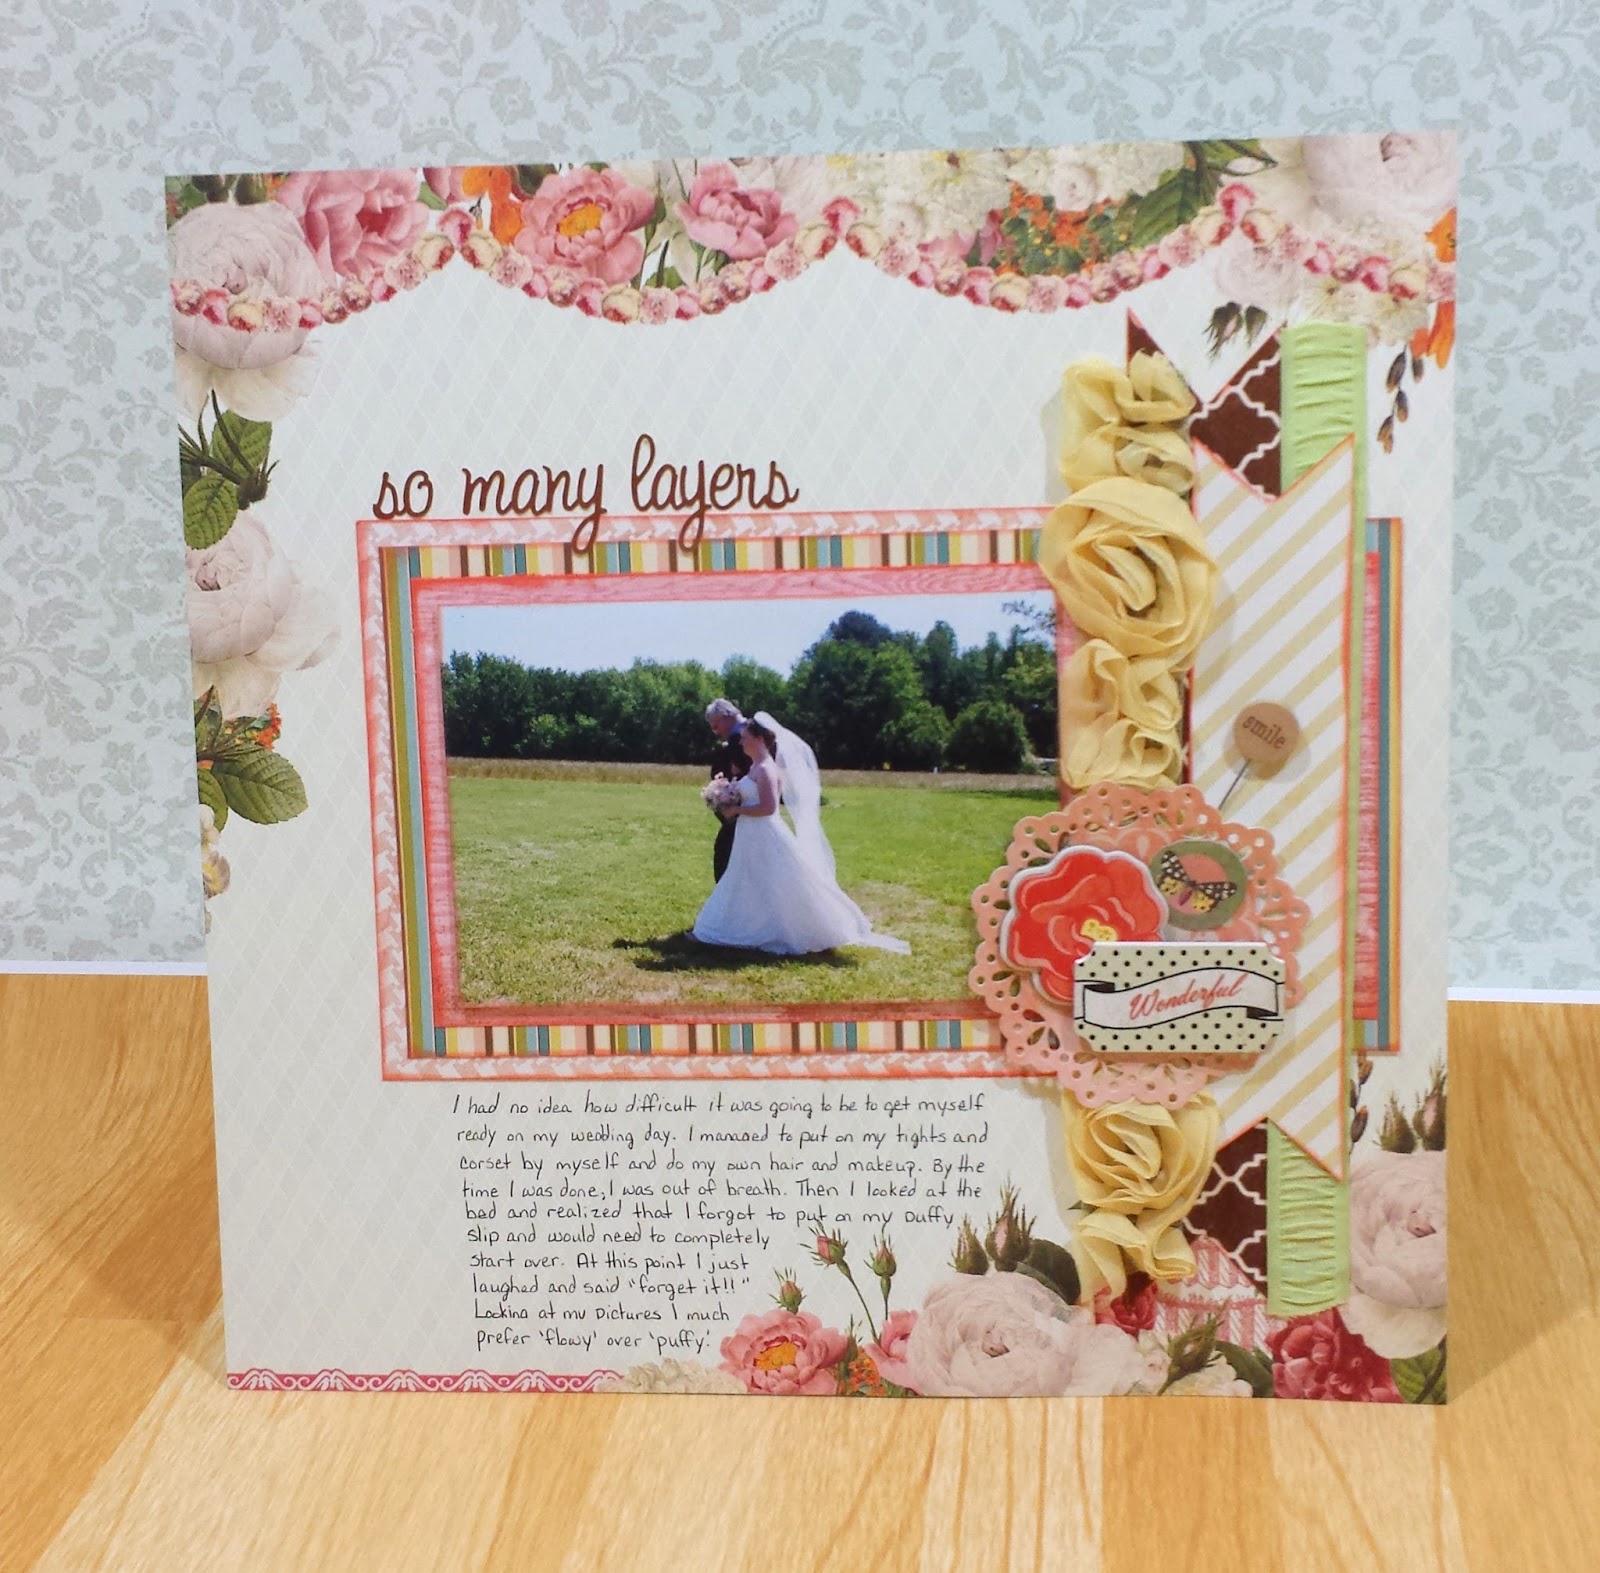
It's so hard to imagine that I've been married for 3 years now. Where has the time gone? It seems like I'm living day to day and suddenly look back to see that another month has passed. Wow, it sure sneaks up on me! When I think back to my wedding day, I can't help but smile and laugh at most of it. As a bride I agonized over every small detail and thought that I had made enough plans (and spread sheets) to have complete control over my wedding.    Ha! Not even close!

The actual day seemed to dash by in a blur: tons of things that I forgot or forgot to do. Hubbie even had to drive back to his parents' home because I forgot my shoes! Well, getting myself into that corset and dress by myself was like trying to zip up a Spandex sleeping bag. After I had finally squeezed myself in and zipped myself up, I stood back to admire my handywork. Only then did I realize that I had forgotten to put on my puffy slip.... the one that has to go on first before everything else.

I was very tempted to get frustrated and start systematically ripping off my dress, but instead I smiled and said a very enthusiastic "SCREW IT" and just laughed. Now looking back, I'm glad I did because without that puffy slip, my dress took on a very ethereal flowy look. I like it better!



Paper - Webster's Pages-Let's Celebrate Collection, Webster's Pages - Garden Gala - Fresh Air, My Mind's Eye - Follow Your Heard - Be Happy - Favorite Things, My Mind's Eye - Lush - Brown Diamonds Paper   Embellishments - Little Yellow Bicycle - Stick Pins - Wood Words, Michaels - Wood Embellishments - Songs of Spring   Ribbon - American Crafts - Premium Ribbon - Greeting, American Crafts - Premium Ribbon - Yellow Rosettes


I'm so glad my Mother-in-Law was taking pictures because she caught one of my favorite shots: my dad beside me and my dress in all it's flowy goodness. This layout was all layered up with bits and pieces of scrap and ribbon. I tried to incorporate the red tones of the Webster's Pages paper with my inked edges. Unfortunately, I purchased most of the supplies when I got engaged, so I can't find any active links to any of it.

Hope you enjoyed this!


Tuesday, February 3, 2015

Hello Again!

Hello again friends! I hope some of you are still reading.

Time sure does fly! We've managed to move to two different states and two completely different jobs. Hopefully life has settled down enough that I can get back to my blogging world. Here's some of what I've been up to.


I'm still scrapping my wedding album. I can't believe that it's been over 2 years and I'm still working on it. (Please excuse my photos for a little while. I'm having to use my phone's camera nowadays).


I had the opportunity to go on a once-in-a-lifetime trip to Paris France with my hubbie. I'm probably going to be scrapping those pictures until the day that I die!


And now I'm making Project Life cards on the side for my Etsy shop. Make sure to stop by and check out some of my goodies! https://www.etsy.com/shop/VibrantValley
I'm slowly adding things as I can. Life sure is getting interesting. :)


Monday, February 27, 2012

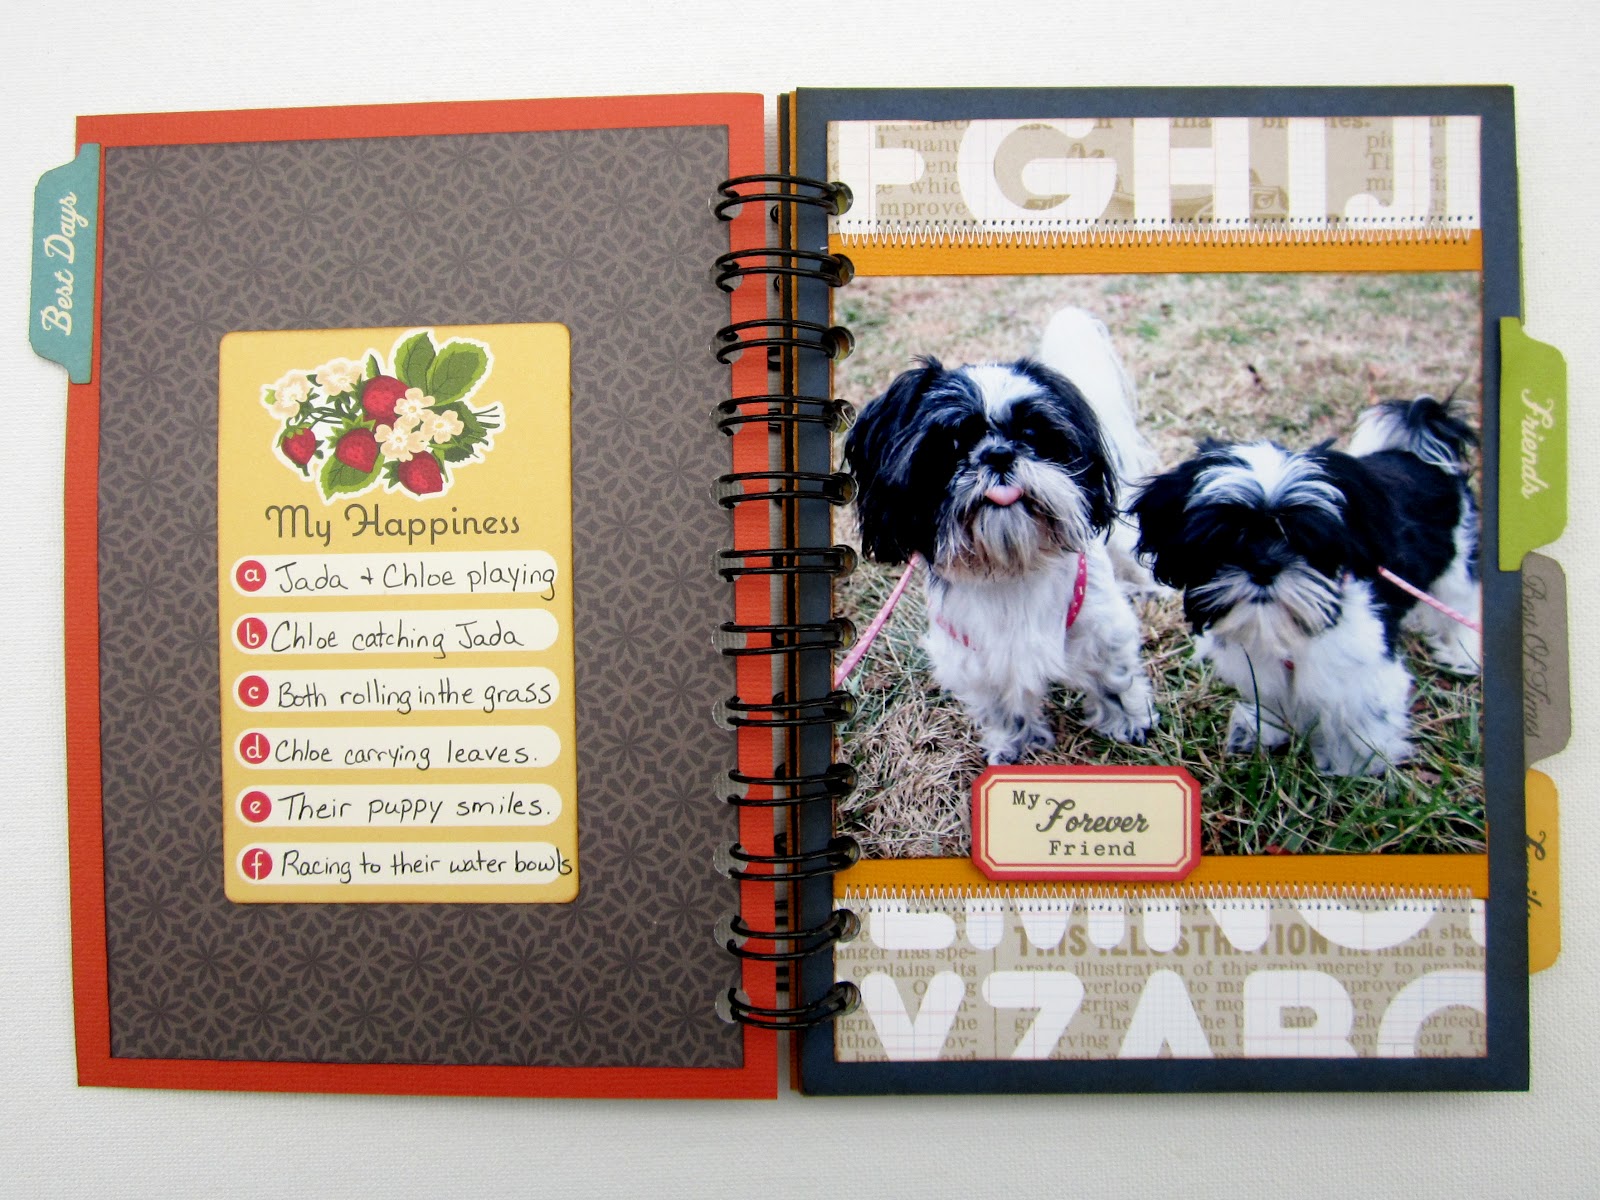
Jada and Chloe

I'm the girl who never wins anything. So, imagine my surprise when I won two things in one week! I received a wonderful kit from both Wilna and Keshet. I couldn't wait to use both kits and I was lucky enough to be able to use both on a cute little mini album. I had been wanting to scrap these pictures for a long time but I just couldn't find a real reason to scrap a full 12x12 layout. So, a mini was a fun way to scrap them separately.


Studio Calico - Classic Calico - Letterset, Studio Calico - Elementary - Atmosphere,  Studio Calico - Elementary - Harper's Rule, Studio Calico - Farmer's Market, American Crafts - CHAP - Jim, American Crafts - CHAP - Richard, My Mind's Eye - Good Day Sunshine - Sunny Stripes, October Afternoon - Boarding Pass - Chip 'n Stick, October Afternoon - Campfire Word Stickers, October Afternoon - Farmhouse Word Stickers, October Afternoon - Sidewalks Word Stickers, October Afternoon - 5 & Dime Label Stickers, October Afternoon - Modern Homemaker Label Stickers, October Afternoon - Cherry Hill Cardstock Stickers, October Afternoon - Farmhouse - Journal Cards, October Afternoon - Boarding Pass - Miscellany, 3L - 3D Foam Squares, The Cinch Binding Tool

Since both prize kits had lots of papers and embellishments with the same color theme, I was able to mix-and-match them along with some of my own stash. I have tons of October Afternoon stickers that I never seem to use up. I just use a couple of favorites and then put the rest away. It was a blast being able to pull them all out again. I felt like I was getting new stuff all over again.


Since each of the tabs came from a different collection, they all had different fonts. I actually loved them so much more because of it. They really gave a personal touch to the mini. And surprisingly, the colors all tied into my main paper and made it feel very cohesive. I also found a little trick to sewing in a mini. If you sew on the paper before you attach it to the main book, then you won't have stitching that shows through to the next page.


This mini was so easy to make. I tried not to embellish too much and instead let the papers speak for themselves. They're so bright and busy. Thanks to Wilna and Keshet for their wonderful gifts. They were so awesome and spot on for what I wanted to do. It's too bad that some of this stuff has been discontinued. I would've loved to pick some more back up. Well, I'm in the middle of two more projects for 'ya. Can't wait to share them with you all and hopefully you'll join me for more fun!


Monday, January 16, 2012

Bedtime Hug - Webster's Pages & Hot off the Press

Chloe has been a part of our family for about three months now but I haven't scrapped a single page of her yet. I've left some of her pictures on my desk hoping to get a little inspiration, but I've been constantly stuck. (I guess all the wedding stuff has become my prime focus.) So, I was looking around the internet and came across two separate sources of inspiration: 1.) Color Combos Galore #215  2.) Lynn Ghahary - Country Boys. I loved the soft colors and feminine texture of the CCG challenge and the soft hearts on Lynn's page. So here's my attempt to merge the two!

Hot Off the Press - Color Me Flowers, Webster's Pages - Lullaby Lane - The Arrival, Ranger - Tim Holtz - Distress Ink - Spun Sugar,  Ranger - Tim Holtz - Distress Ink - Vintage Photo, American Crafts - Thickers - Maple - Black, Fiskars Border Punch - Flowers

The background paper was so much fun to work with because it was an ink resist paper. I started out rubbing it with Spun Sugar but it seemed too pink. So I opened up the ink drawer and looked for a neutral. I finally decided on Vintage Photo to tone it down with. I'm pleasantly surprised with the exact hue I finished with. My only words of wisdom with these kinds of paper is to start out with your lightest ink first. It's easy to add color to darken, but it's a lot harder to lighten once you've made a mistake. Try testing a small corner or an area that you plan on covering up.


I've really been into the texture that border punches give. So I decided to stack a couple of them on top of each other. I liked the look that I got, but they just seemed to blend in together too well. So, on every other edge I rubbed some more Vintage Photo ink. I really gives it a little more depth. Some machine stitching also made an appearance on this layout. It's just such an easy way to make a layout look more finished. I stitched a border around my entire layout as well as around my photo. The stitching also appeared on those sweet little hearts. Speaking of those hearts....

here's those adorable little hearts from Lynn's page. I just loved the sweet feel it brought to the page as well as the texture that it brought from the right to the left. I always try to balance out my page. I had a heavy texture on the right, so I needed texture on the left. I did the same with the title. My little puppies are black and white so it's always hard to work black in somehow. I know that it would probably make more sense to use the brown letters, but they just seemed to fade into the background. By using the black letters, I brought the black from the photo over to the left side of the layout.

I had fun on this layout. It was the first time I've ever used an ink resist paper but I've concurred my fear. I actually want to do more with these diverse products. Hope you'll join me for the next time!

Monday, November 7, 2011

The Pumpkin Thief - American Crafts

Hello everyone! Hope everyone is enjoying their November now. I'm back with the second part of my pumpkin carving. While Morgan and I were carving pumpkins, Jada thought she could sneak away with our scraps. Unfortunately for her, Donna was snapping away at her with the camera. Some really cute pictures surfaced with the evidence (and a lot of tongue showing).


I used the American Crafts Nightfall collection again. I love the use of blue tone in these pages. It's so fun and unexpected. I inked all the edges with Tim Holtz's Broken Twig ink. I think that's one of his best browns. It's got a red undertone so it comes across so warm. I stitched a zig zag stitch around the edges with brown thread. Sewing on your layouts gives it such a beautiful dimension. I'm really glad that I worked up the courage to try it.


I chose one of the pictures as a focal photo because it showed the carved pumpkin as well as Jada sneaking off with some pumpkin in her mouth. I wanted to draw attention to the little bandit, but I didn't want to cover any of the picture, so Chipboard was out. I looked at the outside stitching and thought it would be cute to stitch around her. I brought the star shape out from the background paper and used different shades of brown thread. It's one of my favorite parts of this page now.


The letters where so cool! I loved the thin weight of the letters and how tall they were. They did not want to cooperate, however. Every time I use letter stickers I always turn them sticky side up and arrange them how I want them to go. When I'm pleased with the look, I'll flip them over and secure them down. These, however, did not want to go sticky side up. They wanted to tangle on each other or stick to me. So, for the first time ever, I had no choice but to just stick them down with no rearranging. The journaling was written with an ink pen. I like the juxtaposition of the tall letters with the small cursive journaling.

I hope everyone had enjoyed this layout today. I'm really proud of this one and I can honestly say it's one of my favorites now. I love the Nightfall collection. I've saved enough of it to make a Thanksgiving layout later on. I hope you all enjoy your Monday and make sure to come back and see me. :)

Tuesday, October 25, 2011

Our Pumpkins-American Crafts Nightfall

When I was younger and still living at home, I used to trick-or-treat every year. It was something that I would look forward to all year and would plan in great detail. Then, when I got a little older, I began decorating the house. You could see our house for miles around. But once I hit 16, it was no longer considered 'appropriate' for me to trick-or-treat so I just focused all my attention on decorating. Now that I don't live at home anymore, I don't have a house to decorate. It almost feels as if Halloween is now out of my reach. So I made up my mind this year. I decided that I would do everything I could to enjoy Halloween. So my friend Morgan and I tried our hand at pumpkin carving. I was loads of fun and definitely something to put in the scrapbook album.

Nightfall "Autumn Gathering", Nightfall "Fall Colors", Nightfall "Fall Fun", Nightfall Fabric Brads, Nightfall Orchard Details Layered Embellishments, Nightfall Spice Delights Embellishments, Nightfall Harvest Moon Patch 'ems,  Nightfall Maple Black Puffy Thicker Stickers, Tim Holtz Distress Ink - Gathered Twigs, Ranger's Glossy Accents

There are a couple of Halloween lines out there that I just can't get enough of. American Crafts' "Nightfall" collection is one of them. The Nightfall collection has two parts to it. One part is mostly fall and the other is mostly Halloween. Since I knew I wouldn't be trick-or-treating any time soon, I bought the fall side. It still worked really well with my photos and theme. I love the light tone of blue that this kit uses. It's such an unexpected punch of color.


I love the little rosettes that I got, but I really wanted to find a place to use the Jack-o-lantern brad. So I removed the little black button that originally came with it and replaced it with the brad using glossy accents to secure it. The thicker letters are so cute and fun. I love the skinny yet tall feel of them. The only thing is, it's a bit of a pain trying to arrange your stickers without sticking them down. All the letters just wanted to tangle on each other. I finally had to just push them aside and stick them down without any guide or arranging beforehand.


I cut strips from the Fall Colors paper to make a border around both pages. I am just in love with these colors! The little black owl patch brought over the black from my photos and title from the other page. A little bit of leaf garnish and I was done. I made sure to run all the edges using Tim Holtz's "Gathered Twigs" ink. I absolutely love his seasonal colors. Make sure to grab some because they won't be around for too long. They will not be added to his regular colors. I hope everyone enjoyed this layout. It's been a while since I've done a two page layout, but I really had fun.

Saturday, August 13, 2011

Roses - Kaiser Craft

Well, when you think about being away from your sweetie for 18 weeks you think 'I'll be fine. I can do this.' Then when you actually are separated, you start going a little insane. I miss Caleb dearly and everyday seems to be harder than the last. Which is why his surprise made me feel so happy and fall in love with him all over again. One day I was at my computer and he asked me to look out my door. I was a little unsure and hesitant. But once I opened my door, I couldn't believe my eyes. There before me was a long box on the porch. I opened it up and saw the most gorgeous bouquet of 18 long stemmed red roses. They were breathtaking. I ran inside and put them in a vase (and took tons of photos, of course!). Now, the roses have wilted and had to be thrown away, but I still have the beautiful photos to look at.


The background paper is Kaiser Craft's Timeless Collection -  Ledger. It gave the soft nostalgic feel that I wanted. Then came the hard part. I wanted to find embellishments that added to my picture instead o distract from it. So what better way than making my own? I used my FMIL's Silhouette to cut out all the black and red embellishments. Although it doesn't cut nearly as well as my Cricut, it was nice to have a wider variety of images. (The scrolls under and above the title had to be cut 3 times to get it right).


The red cameo background is actually plain American Crafts cardstock that I sprayed with Tattered Angels Mist and embossed with Ultra Thick embossing powder. I really love the look it gave. Cameos are so beautiful. I wish I could have found a matching male one.


The last step was adding a little line of lace at the bottom of my photo. I felt it added a little more vintage romance to my page as well as a much needed texture. I have no clue what brand it is (it's from my FMIL's stash). Hope you enjoyed this post!

Wednesday, July 20, 2011

Waiting


My wonderful FMIL took an adorable picture of Jada. (I swear, that dog has more pictures than a Hollywood celebrity!) The picture shows Jada peering out the window waiting for us. Anyone who knows Jada also knows that this is an everyday occurrence for her. She's always waiting for us and she becomes so happy and excited when we come home. You can have the worst day in the world, but when you come home you can't help but smile as she stands on her hind legs waiting on you to pick her up and love her. That's why I thought the title 'Waiting' was so appropriate.

But even though I had found a title, I had no clue where to begin. I didn't want to put it on a white cardstock background because it would lose some of its warmth. I had tried cream cardstock, but it still didn't seem right. Then, my FMIL and I visited our LSS and I ran across and adorable paper! It's Kaiser Craft's Homemade Collection- P569 Friendly Family. It has a beautiful retro design on the font and a soft textured back. I got two pages of it so I cold use one side as a background and the other side as an accent page.


I've been seeing so many of the cute little kite banners, but I've never had the guts to do one. Well, here's my attempt. Did I succeed? LOL. I used Viva Decor's Perfect Pearl Pens to connect the edges of my banner in the top right corner. The home sweet home paper is actually the info at the bottom of the paper. It's the piece that has the manufacture info that you usually cut off. (They are making those so cute that you never throw them away!)


The journaling says "Nothing washes your troubles away like seeing the unconditional love of a dog waiting for you". I lined all of my journaling and papers with Paper Studio's cardstock to help it stand out. And the finishing touch was American Crafts Thickers. I love the Marquise chipboard letters because they look like they have stitching on them which added to my "Homemade" look. I just love the little details that go into everything.

I hope you enjoyed this layout and please show your love for my blog by following it and leaving comments. I can't wait to hear from you!

Tuesday, June 14, 2011

Summer time is definitely here!

It's summertime. Time for cook-outs, pool parties, and cool treats. Everything gets brighter, and that includes scrapbook papers. Bright Oranges, Crisp Greens, and Lovely Yellows all come out of hibernation. Since Caleb will be heading out for a 2 month long business trip, I decided that it would be a great time to take some pictures of our little family. I wanted to be sure that he would be able to leave with a couple of sweet wallet pictures. Jada (although a little hesitant) warmed up to the idea of pictures.

Once I got all of my pictures printed out, I went to work. Using some of the freebies I won from a Two Peas challenge, I was able to map out my color combo. This is the front of American Crafts- Hello Sunshine- Good Morning Remarks Stickers.


I absolutely loved the green, blue, yellow, and brown. The hot pink was a little too much for me.


Hope you all enjoyed this one. The colors came out really light in the pictures but they look fabulous in real life.

Products Used:
Papers:   American Crafts- City Park
                American Crafts- Cardstock- Chestnut Damask
                My Mind's Eye- Head in the Clouds
                My Mind's Eye- Where the Heart is
Stickers: American Crafts- Hello Sunshine - Good Morning Remarks Stickers